Disaster
How to File a Roof Insurance Claim Step by Step — The 2026 Approval Playbook
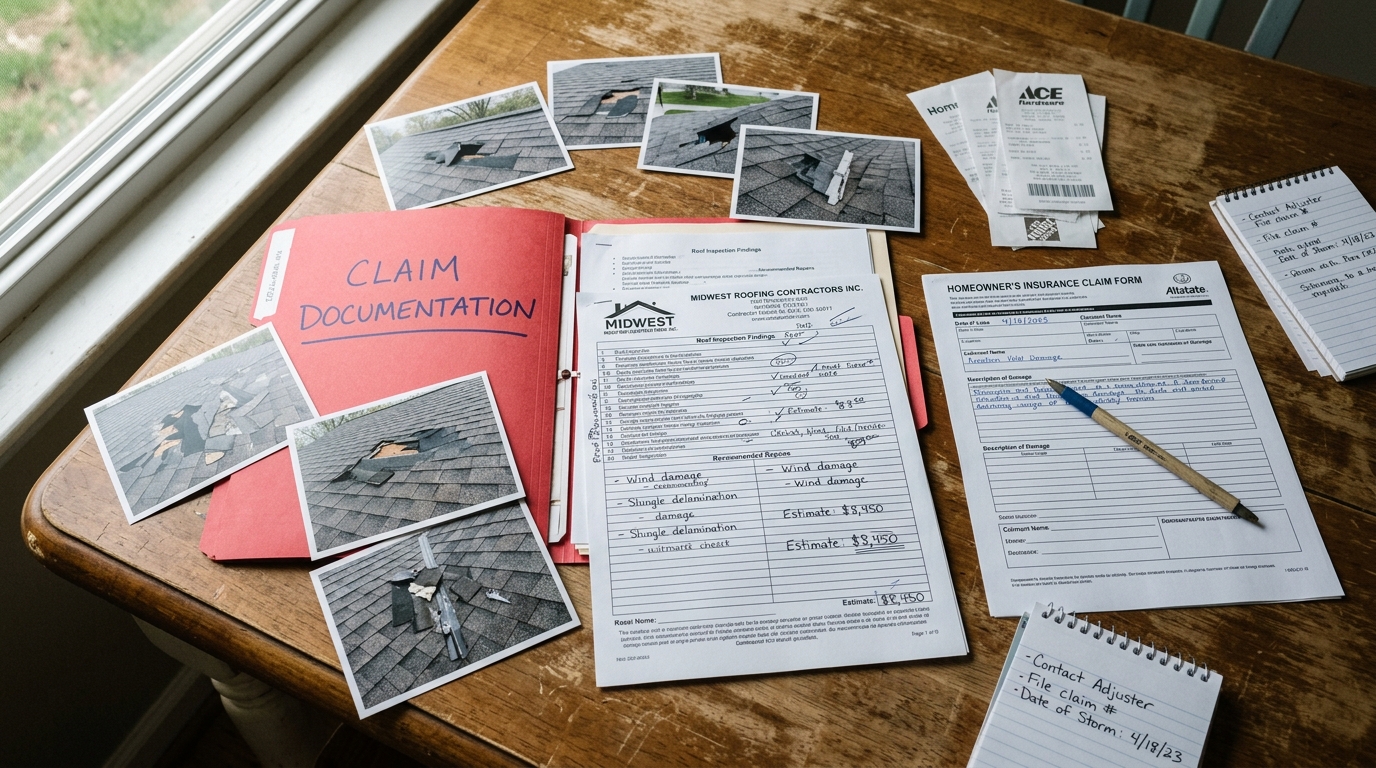
Most denied roof insurance claims aren't denied because the damage wasn't real — they're denied because the homeowner did one of 5 things wrong in the first 72 hours. Filing a roof claim is a procedural game: document first, get contractor inspection BEFORE calling insurance, have the contractor on the roof during the adjuster's visit, file supplementals for code work. Here's the 2026 8-step playbook that turns $1,000-deductible claims into $14K replacements instead of $0 denials.
Step 1 — Document the damage in the first 48 hours
This window matters because insurers can challenge "delayed reporting" beyond 72 hours.
- Date-stamped ground-level photos of every roof plane (use phone zoom rather than climbing — insurance excludes self-injury).
- Photo collateral damage: bent AC condenser fins (sizes the hail), dimples on car hoods, broken window screens, fence impact marks.
- Pull the NOAA storm event at spc.noaa.gov — free PDF documentation of stone size + wind speed at your location. Print for your file.
- Interior attic photos showing any water staining on insulation, drywall, or rafters. This proves active leak = adjuster cannot deny.
- Save the time/date metadata. Don't crop or filter photos — original EXIF data is your forensic record.
Get a real-world replacement estimate before you call insurance
Same arithmetic this guide uses — adjusted for your roof size, pitch, and quality tier.
Calculate my roof replacement →Step 2 — Get a contractor inspection BEFORE filing
This is the single most important step — and the one most homeowners skip. Filing a claim that gets denied stays on your CLUE report for 5 years and raises future premiums 8-15%. Don't file unless damage is clearly claim-worthy.
- Call 2-3 reputable local roofers (verified license + 5+ years in your area). Insist on FREE inspections only.
- They'll chalk-mark suspected hail/wind damage and tell you whether the claim will stick.
- If 2 of 3 say "borderline" — don't file. Consider paying out-of-pocket for a partial repair instead.
- If all 3 say "clear claim damage" — proceed to Step 3. Pick the contractor with the strongest documentation skills (they'll be on the roof with the adjuster later).
- NEVER sign an Assignment of Benefits (AOB) contract at this stage. AOB contracts transfer your claim rights to the contractor — they get paid directly by insurance, and you lose all dispute power. Refuse universally.
Step 3 — File the claim with your insurer
- Call the claims hotline (NOT your agent — your agent doesn't process claims). Have your policy number, the storm date, and your documentation ready.
- State the cause plainly: "wind/hail damage on [date]" — don't volunteer extra info or speculation.
- The claims rep will assign a claim number + adjuster. Adjuster contact typically within 24-72 hours; visit usually within 5-15 days.
- DO NOT make any structural repairs before the adjuster visits (temporary tarp / water mitigation is fine — that's required to prevent further damage).
- Save ALL emails and voicemails from the insurer. Take written notes during every call — including the rep's name + employee ID.
Step 4 — Prepare for the adjuster visit (3-5 days before)
- Confirm your contractor will be PRESENT during the adjuster's roof inspection. This is non-negotiable — adjusters miss damage on back-facing planes 30-40% of the time.
- Print your documentation packet: photos, NOAA report, list of damaged items, contractor's preliminary scope.
- Re-photograph the roof the morning of the visit. New damage (from rain after the storm, for example) should be captured fresh.
- Set up cones / safety to allow the adjuster on the roof. Some adjusters will refuse steep-pitched roofs — your contractor solves this by being there with a roofer's harness and walking the adjuster through.
Step 5 — During the adjuster visit
- Be present but quiet. Let the contractor do the technical talking. You handle the basic policy questions.
- Your contractor walks the adjuster across every roof plane, marking each damaged shingle with chalk. They count and photograph each impact mark.
- Adjuster will issue a verbal preliminary scope. Listen carefully. If they say "partial replacement" but 80%+ of slopes are damaged, your contractor should push back on-site, citing manufacturer matching requirements + state code.
- Politely request a written scope-of-loss within 5-10 business days. Federal/state insurance commissioners enforce this timeline strictly.
Step 6 — Read the scope-of-loss CAREFULLY
When the written scope arrives, check three things:
- Is it RCV or ACV? RCV means full replacement minus deductible. ACV means depreciated value (could be 30-70% less). If your policy is ACV by default but you believe it should be RCV (or vice-versa), call the adjuster immediately.
- Are code upgrades included? Drip edge, ice & water shield, starter strip, ridge ventilation — if your jurisdiction requires them and the scope omits them, file a supplemental BEFORE accepting the scope.
- Is the line-item pricing realistic? Adjusters use Xactimate software with regional pricing. If your contractor's quote is >15-20% above scope, request a re-evaluation with documentation.
Step 7 — Sign the contract with your contractor (CONDITIONAL ONLY)
- "Contingent on insurance approval" language in the contract — this lets you walk away if the claim is denied.
- NO Assignment of Benefits (AOB). Some states (FL, TX) have reformed AOB laws to make these contracts harder to enforce — but the best protection is refusing them outright.
- Match scope to insurance scope. If the contractor proposes upgrades insurance won't pay, those should be a separate line item that YOU pay (not bundled into the insurance claim).
- Verify license + insurance. State contractor board lookup + General Liability + Workers Comp certificates. Storm-chasers without these are the #1 fraud pattern. See our storm-chaser avoidance guide.
Step 8 — Install + final inspection + RCV depreciation recovery
- Contractor pulls permits, schedules tear-off + install. Typical 1-3 days for asphalt shingle replacement, 3-7 for metal/tile.
- Take photos throughout — tear-off (showing damaged decking if any), underlayment install, shingle install, drip-edge install, final cleanup.
- Pass municipal inspection.
- Submit completion paperwork to insurance: final invoice, permit paperwork, before/after photos, signed lien waiver. Insurance releases the depreciation hold-back (the difference between ACV and RCV) within 30 days.
- Submit Ordinance & Law claim if applicable — for any code-upgrade work beyond the scope.
The 5 mistakes that get claims denied
- Delayed reporting. Filing >30 days after the event triggers "prompt notice" exclusions.
- Self-inflicted access damage. Climbing the roof yourself and creating new damage. Insurance excludes this aggressively.
- Signing an AOB contract before the claim is approved. You lose control + dispute rights.
- Accepting the first scope-of-loss without a contractor review. Adjusters miss damage routinely. A contractor's supplemental commonly increases scope 15-40%.
- Cosmetic claims on borderline damage. Filing on tiny dings causes denial + CLUE-report damage. Don't file unless damage is unambiguous.
Trusted roof claim guidance
- Does homeowners insurance cover roof replacement?
- Storm-chaser roofer scams — how to avoid them
- Texas hail damage guide
- Mississippi storm damage guide
- Florida hail damage guide
- How long does storm-damage roof replacement take?
Bottom line
The 8 steps that get roof claims approved: (1) document in 48 hours, (2) get a contractor inspection BEFORE filing, (3) file the claim, (4) prepare for adjuster, (5) have contractor present on roof, (6) read the scope-of-loss carefully, (7) sign a CONTINGENT contract — NO AOB, (8) install + recover RCV depreciation. Skipping step 2 (the pre-filing inspection) is the single biggest reason borderline claims raise premiums for 5 years. Use our state-specific roofing calculators to size your real replacement cost before the claim is filed.
Get 3 free contractor quotes for your storm-damaged roof
Vetted local roofers who handle insurance claims. No spam, no obligation, no sales calls — we just send the quotes.
Most homeowners receive 3 quotes within 48 hours. Free service — funded by contractor referral fees, not by you.
Keep reading
Kitchen Remodel
Kitchen Remodel Cost in Washington 2026 — Seattle Metro Premium & PNW Cabinet Sourcing
9 min read
Kitchen Remodel
Kitchen Remodel Cost in Colorado 2026 — Why CO Kitchens Run 10-20% Above National
9 min read
Kitchen Remodel
Kitchen Remodel Cost in Florida 2026 — Miami, Tampa, Orlando, Jacksonville Pricing
9 min read